Camping is a beloved pastime for many outdoor enthusiasts. It allows us to disconnect from the hustle and bustle of everyday life and reconnect with nature. However, in order to fully enjoy the camping experience, it is important to be prepared with the right gear. While there are countless camping gadgets available on the market, there is something special about making your own. Homemade camping gear not only saves you money, but it also allows you to customize your gear to fit your specific needs. In this article, we will explore the benefits of making your own camping gear and provide step-by-step instructions for creating some essential homemade camping gadgets.
DIY Campfire Grill: How to Make Your Own Grilling Rack
One of the highlights of camping is cooking over an open fire. While there are many portable grills available for purchase, making your own campfire grill can be a fun and rewarding project. To make your own grilling rack, you will need a few simple materials such as a metal grate, metal rods, and wire mesh.
To begin, measure the size of your metal grate and cut four metal rods to match the width of the grate. These rods will serve as the legs of your grill. Next, attach the legs to the corners of the grate using wire or metal brackets. Make sure they are securely fastened to ensure stability while cooking.
Once your legs are attached, you can add a wire mesh to create a cooking surface. Cut the wire mesh to fit the size of your grate and attach it using wire or metal clips. This will prevent food from falling through the grate while cooking.
When using your homemade grill, it is important to remember a few tips for optimal performance. First, make sure to place your grill over a sturdy and stable fire pit. Avoid placing it directly on top of flames as this can cause uneven cooking and potential damage to your grill. Additionally, be mindful of the weight and size of the food you are cooking to ensure even heat distribution and prevent any accidents.
Portable Solar Charger: Harnessing the Power of the Sun
In today’s digital age, staying connected while camping has become increasingly important. Whether it’s for emergency purposes or simply to capture and share your camping adventures on social media, having a reliable source of power is essential. A portable solar charger is a great solution for charging your electronic devices while camping.
To make your own portable solar charger, you will need a solar panel, a charge controller, a battery, and some basic wiring materials. Begin by connecting the solar panel to the charge controller using the provided connectors. The charge controller regulates the flow of electricity from the solar panel to the battery, preventing overcharging and damage to your devices.
Next, connect the charge controller to the battery using appropriate wiring. This will allow the battery to store the energy generated by the solar panel. Finally, connect your electronic devices to the battery using USB cables or other compatible connectors.
When using your homemade solar charger, it is important to position the solar panel in direct sunlight for optimal charging. Keep in mind that charging times may vary depending on the size of your solar panel and the amount of sunlight available. It is also recommended to fully charge your battery before heading out on your camping trip to ensure you have enough power for your devices.
Homemade Water Filter: Clean Drinking Water on the Go
Clean drinking water is a necessity when camping, especially if you are in a remote location without access to clean water sources. While there are many portable water filters available for purchase, making your own can be a cost-effective and sustainable option.
To make your own water filter, you will need a few basic materials such as a plastic bottle, activated charcoal, sand, and gravel. Begin by cutting off the bottom of the plastic bottle and poking small holes in the cap. This will serve as the container for your filter.
Next, layer the bottom of the bottle with activated charcoal, followed by a layer of sand, and finally a layer of gravel. These layers will help to remove impurities and sediment from the water. Make sure to pack each layer tightly to prevent water from bypassing the filter.
When using your homemade water filter, it is important to collect water from a clean source such as a river or stream. Avoid collecting water from stagnant sources or areas with potential contamination. Additionally, it is recommended to boil the filtered water before consuming it to ensure any remaining bacteria or pathogens are killed.
DIY Lantern: Light up Your Campsite with a Homemade Lamp
Proper lighting is essential when camping, especially during nighttime activities such as cooking, reading, or simply enjoying the ambiance of the outdoors. While there are many lantern options available on the market, making your own can add a personal touch to your camping experience.
To make your own lantern, you will need a glass jar, a candle, and some basic crafting materials such as wire and beads. Begin by wrapping wire around the neck of the jar to create a handle. Make sure it is securely fastened to prevent accidents.
Next, place a candle inside the jar and light it. You can also add decorative elements such as beads or ribbons to personalize your lantern. Be mindful of fire safety and never leave a lit candle unattended.
When using your homemade lantern, it is important to place it on a stable surface away from flammable materials. Avoid placing it near tents or other structures that could potentially catch fire. Additionally, always extinguish the candle before going to bed or leaving your campsite unattended.
Handmade First Aid Kit: Essential Supplies for Emergencies
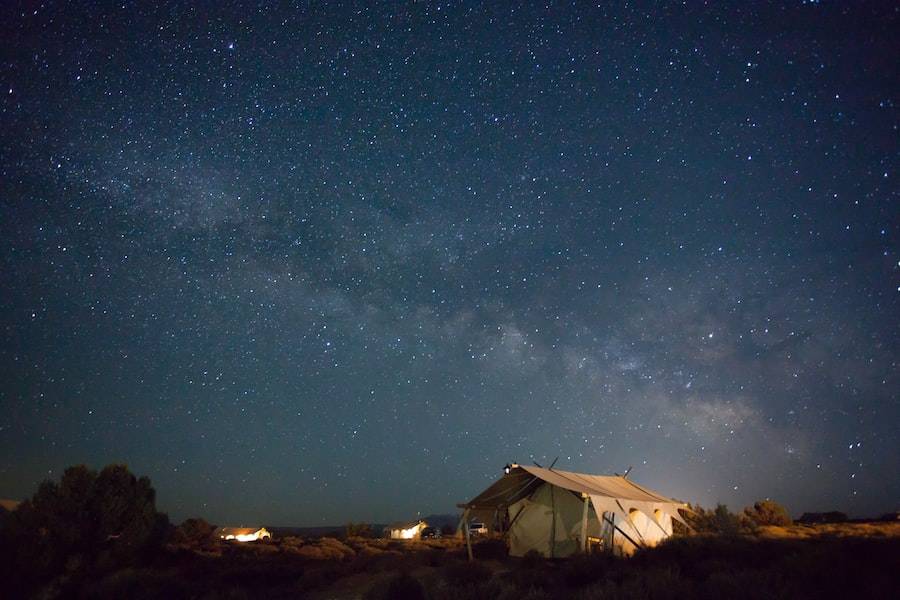
Being prepared for emergencies is crucial when camping, as accidents and injuries can happen at any time. While there are many pre-packaged first aid kits available for purchase, making your own allows you to customize it to fit your specific needs.
To make your own first aid kit, you will need a sturdy container, such as a waterproof box or bag, and a variety of essential supplies such as bandages, antiseptic wipes, gauze pads, adhesive tape, and pain relievers. It is also recommended to include any personal medications or specific items that you may need.
Organize your supplies in the container in a logical and easily accessible manner. Label each item and include a list of contents for quick reference. It is also important to periodically check and restock your first aid kit to ensure that all supplies are up to date and in good condition.
When using your homemade first aid kit, it is important to familiarize yourself with the contents and their proper use. Take the time to learn basic first aid techniques and procedures to effectively respond to emergencies. Additionally, always seek professional medical help for serious injuries or conditions.
DIY Camp Stove: Cooking with Homemade Gear
Cooking while camping is not only a necessity but also a joyous activity that brings people together. While there are many portable camp stoves available for purchase, making your own can be a fun and rewarding project.
To make your own camp stove, you will need a metal container such as an Altoids tin or a large coffee can, as well as some basic materials such as wire mesh, aluminum foil, and fuel tablets. Begin by cutting a hole in the side of the container for ventilation. This will allow air to flow into the stove and provide oxygen for combustion.
Next, line the inside of the container with wire mesh to create a stable surface for cooking. This will prevent food from falling through the holes and ensure even heat distribution. Place fuel tablets at the bottom of the container and light them using a match or lighter. Cover the container with aluminum foil to trap the heat and create a cooking surface.
When using your homemade camp stove, it is important to place it on a stable and non-flammable surface. Avoid using it inside tents or other enclosed spaces to prevent carbon monoxide poisoning. Additionally, always follow safety guidelines and never leave the stove unattended while in use.
Homemade Mosquito Repellent: Keep Bugs at Bay
One of the biggest annoyances while camping is dealing with mosquitoes and other pesky insects. While there are many commercial mosquito repellents available, making your own can be a natural and cost-effective alternative.
To make your own mosquito repellent, you will need a few basic ingredients such as essential oils, witch hazel, and distilled water. Begin by mixing equal parts of witch hazel and distilled water in a spray bottle. This will serve as the base for your repellent.
Next, add a few drops of essential oils known for their mosquito-repelling properties such as citronella, eucalyptus, or lavender. Shake the bottle well to ensure all ingredients are thoroughly mixed.
When using your homemade mosquito repellent, it is important to apply it to exposed skin and clothing before heading outdoors. Avoid spraying it directly on the face or near the eyes. Reapply as needed, especially after swimming or sweating.
DIY Camping Chair: Comfortable Seating for the Great Outdoors
Comfortable seating is essential when spending long hours outdoors. While there are many camping chairs available for purchase, making your own can be a fun and creative project.
To make your own camping chair, you will need a sturdy fabric such as canvas or nylon, as well as some basic materials such as wooden dowels or PVC pipes. Begin by cutting two rectangular pieces of fabric for the seat and backrest. Sew them together along three sides, leaving one side open for inserting the dowels or pipes.
Next, insert the dowels or pipes into the open side of the fabric to create the frame of the chair. Make sure they are securely fastened and provide enough support for sitting. You can also add additional fabric or padding for extra comfort.
When using your homemade camping chair, it is important to place it on a stable and level surface. Avoid placing it on uneven or rocky terrain that could potentially cause it to tip over. Additionally, always check the stability of the chair before sitting down to prevent accidents.
Enjoying the Outdoors with Homemade Camping Gadgets
In conclusion, making your own camping gear can be a rewarding and fulfilling experience. Not only does it save you money, but it also allows you to customize your gear to fit your specific needs. Whether it’s a homemade campfire grill, a portable solar charger, a water filter, a lantern, a first aid kit, a camp stove, mosquito repellent, or a camping chair, there are countless opportunities to get creative and make your camping experience even more enjoyable.
By making your own camping gadgets, you not only gain a sense of satisfaction and accomplishment but also develop valuable skills and knowledge. Additionally, homemade camping gear can be more sustainable and environmentally friendly than their commercial counterparts.
So why not give it a try? Start with one project at a time and gradually build up your collection of homemade camping gear. You may be surprised at how much joy and satisfaction you can derive from creating your own gear and enjoying the great outdoors with your personalized creations. Happy camping!

